 Wandering with Jeannie
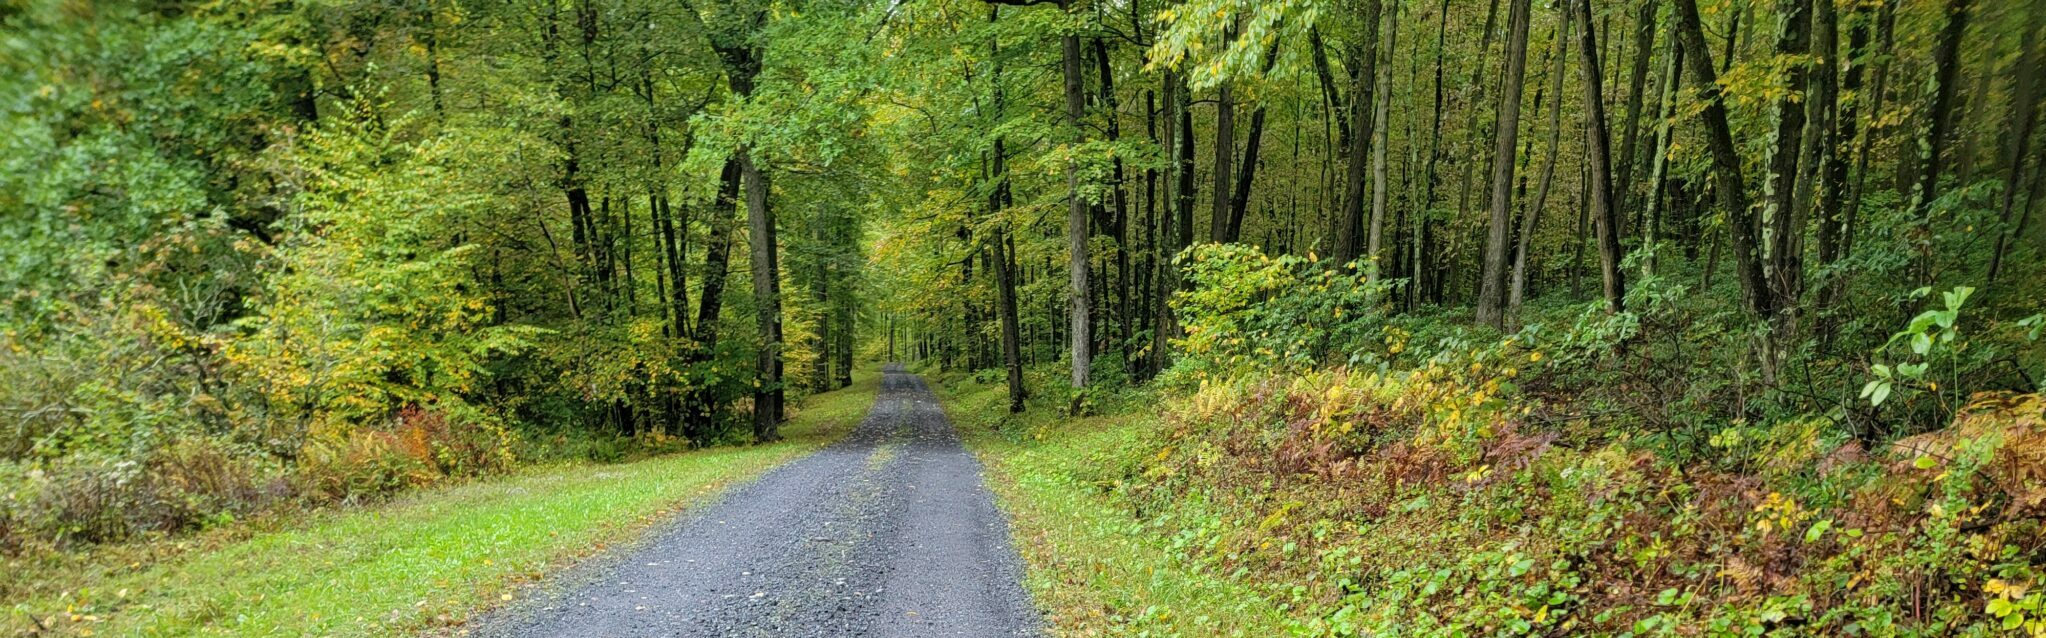
Welcome to Wandering with Jeannie
How may we direct your call?
Welcome to Wandering with Jeannie, where we hope to make everyday an adventure. You can use the buttons below to get to the various parts of the website.
If you truly are here for a Wandering with Jeannie adventure, click the button below and see what’s new on the blog. It could be anything, check it out!

If you are looking for SCA related content, information about my persona, project diaries or documentation from past competitions and displays, then the SCA Content Hub is the place to start.
If you like reading books and are looking for a recommendation, check out my bookshelf to see what I’ve been reading and what I thought of it.


Maybe you want to check out the Wandering with Jeannie Outdoor skills and info? If so, look at the Outdoor Skills posts.
Or perhaps you want to know how the heck I find time to to all these cool things. In that case, take a look at the Wandering With Jeannie concept of the 8 Corners of Life. You will also find the associated planning content. You are sure to find some new ideas to help you live your best life.

